Figure Component
The Figure component adds a box to the page, with a user-selected photo and caption. The box can be set to 33%, 50% or 100% width. It also has a float setting so text can wrap around it. This component was designed to add an image with or without a caption to a page.
Update: Added on 8/12/2026 is the new ability for the Figure component to go edge-to-edge of the browser window, effectively breaking outside of the normal content boundary. This new feature can be used for dramatic effect or to spice up the content that it accompanies. This feature should only be used on pages that do not have a right-hand column or side navigation enabled.
Demo
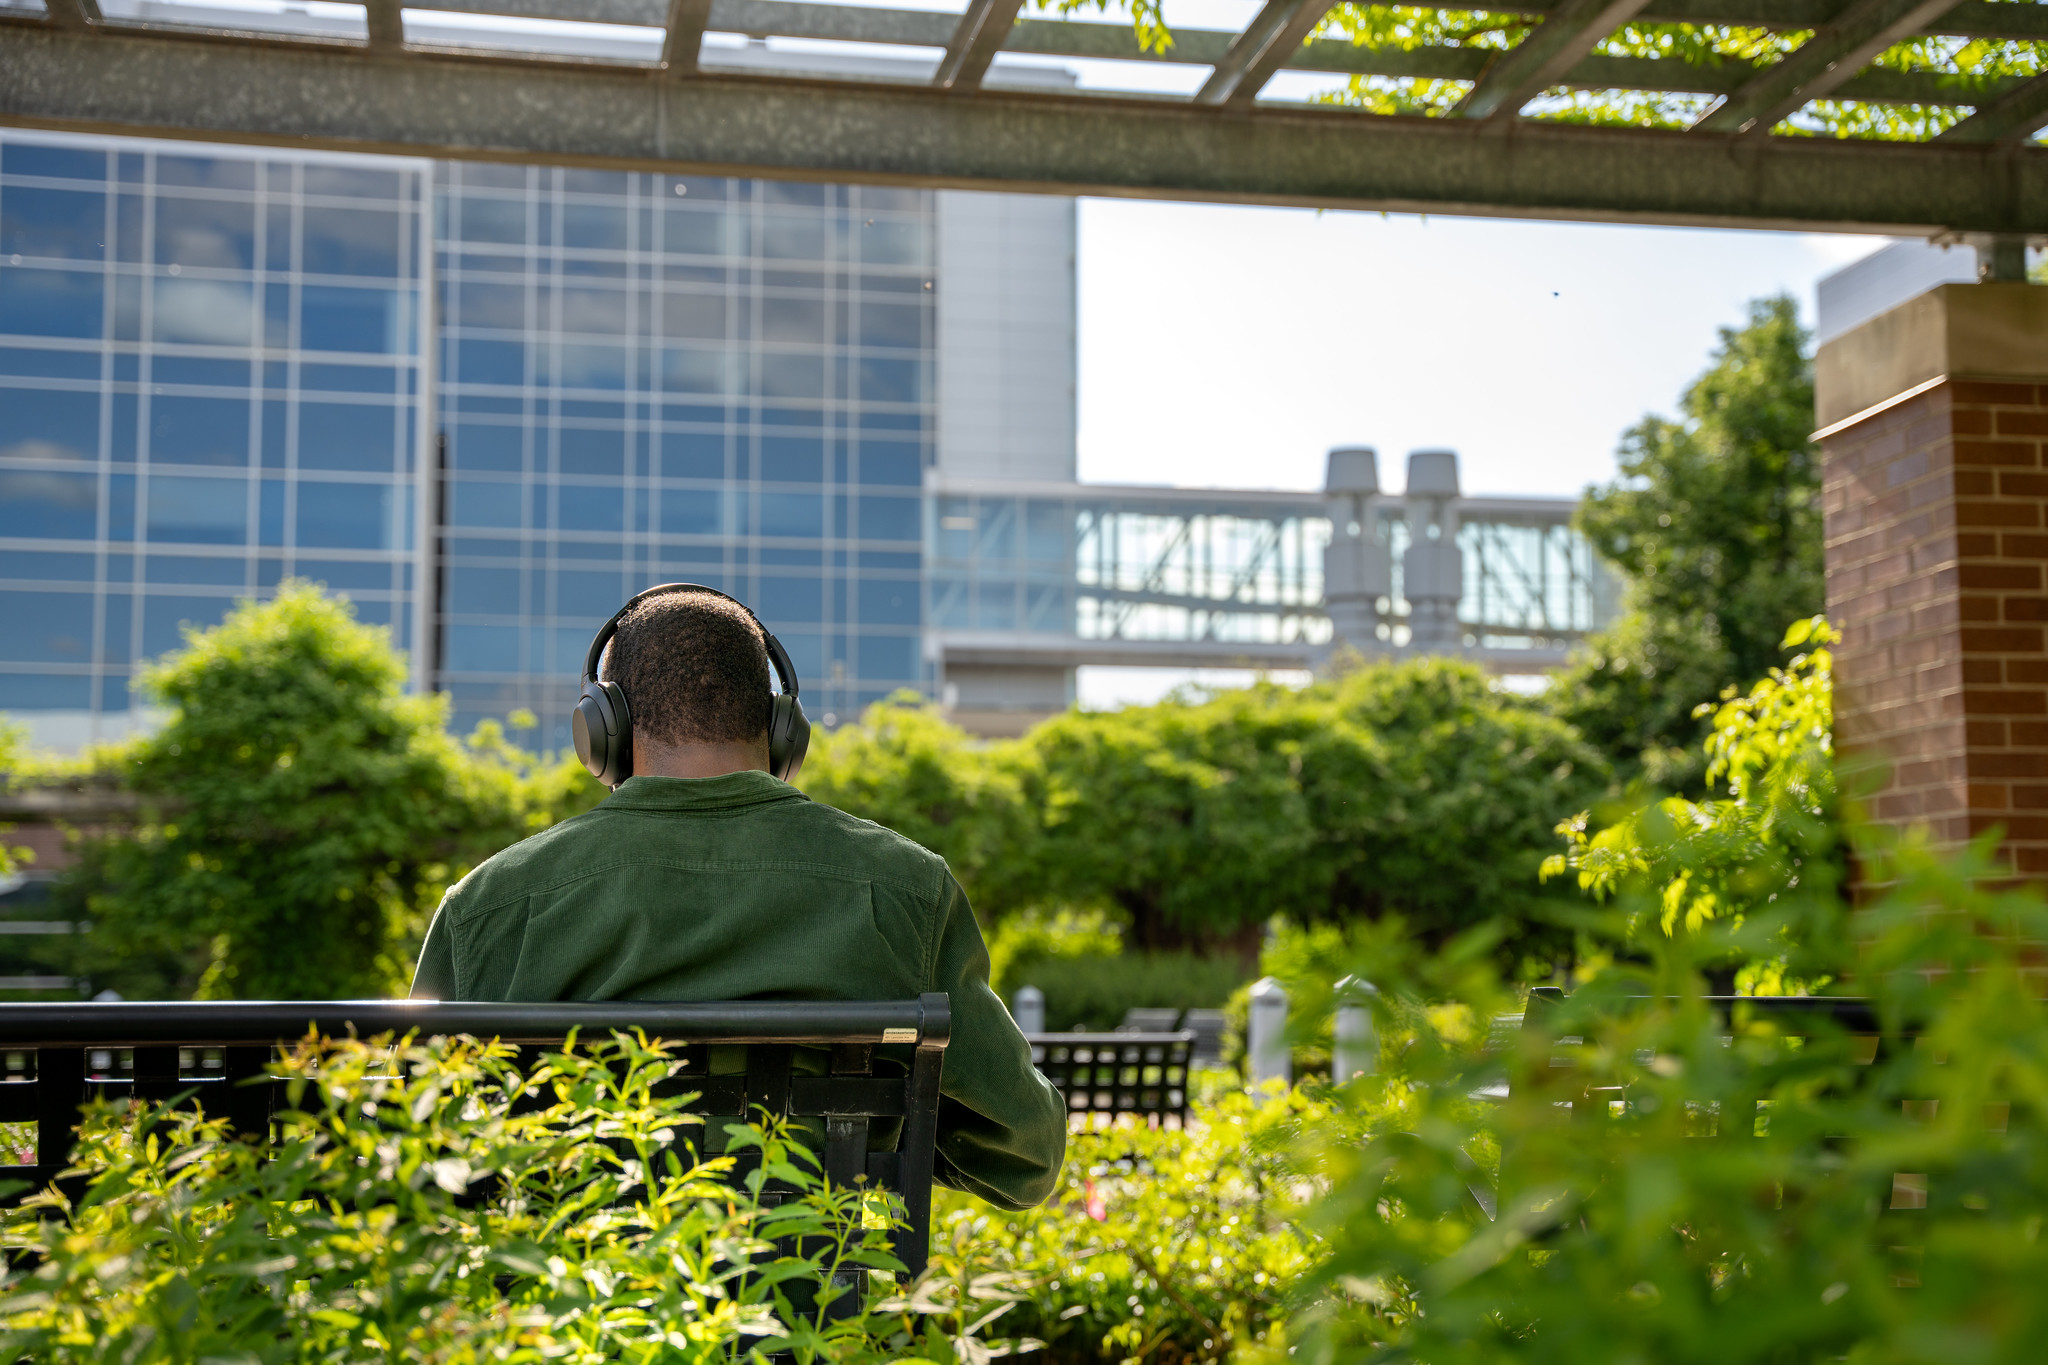
Instructions for use
While editing a page:
- Move your cursor to the area of the page you wish to add the component.
- Click the "Insert Component" button in the editor toolbar.
- Select the Figure component from the list.
- Select a high quality photo that will open in a new tab when clicked.
- Select a lower quality photo for better load time on the web, this will display in the figure itself.
- Enter alt text for the photo.
- Enter caption text.
- Enter photo credit.
- Choose whether to display the caption or not.
- Select the figure width.
- Select optional float.
- Click the "Save" button.
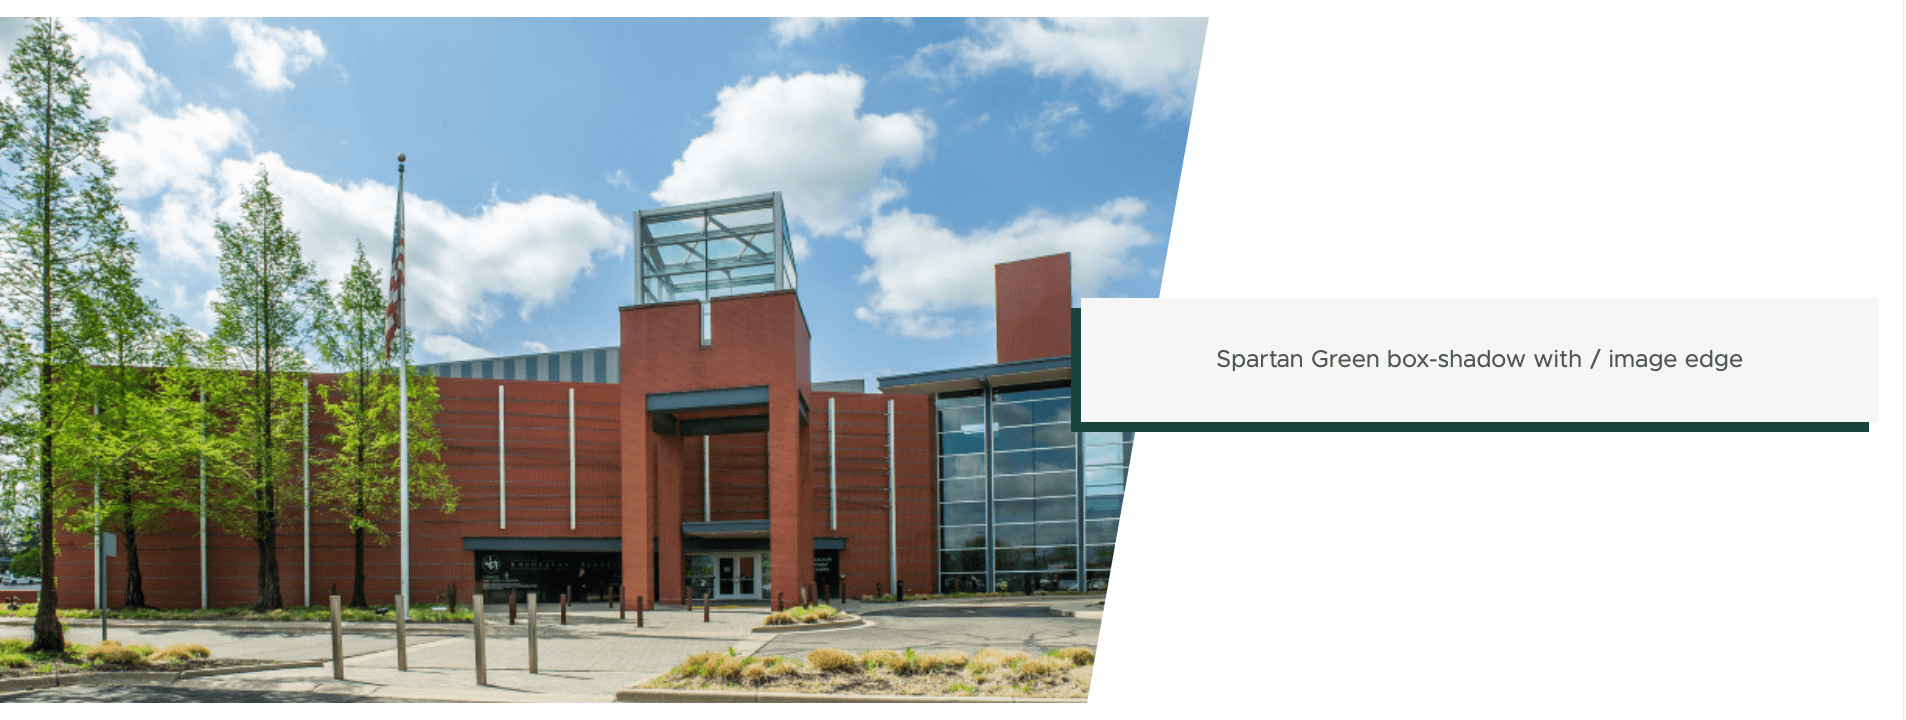
Instructions for edge-to-edge functionality
While editing a page:
- Move your cursor to the area of the page you wish to add the component.
- Click the "Insert Component" button in the editor toolbar.
- Select the Figure component from the list.
- Select a high quality photo that will open in a new tab when clicked.
- Select a lower quality photo for better load time on the web, this will display in the figure itself.
- Enter alt text for the photo
- Enter caption text
- Enter photo credit.
- Choose whether to display the caption or not
- Ignore the figure width option
- Ignore the float option
- Select "Yes" for the Edge-to-Edge Display
- Choose the color for the caption dropshadow - the default is Spartan Green. This option has no effect if you choose not to display the caption.
- Choose the image shape for the right-side of the image - the default is a forward slash shape. This option has no effect if you choose not to display the caption, the image will simply extend from one edge of the screen to the other.
- Click the "Save" button
- The figure will not display edge-to-edge while in edit mode but should do so once the page is saved.